How to Create Point Range Based Rubric?
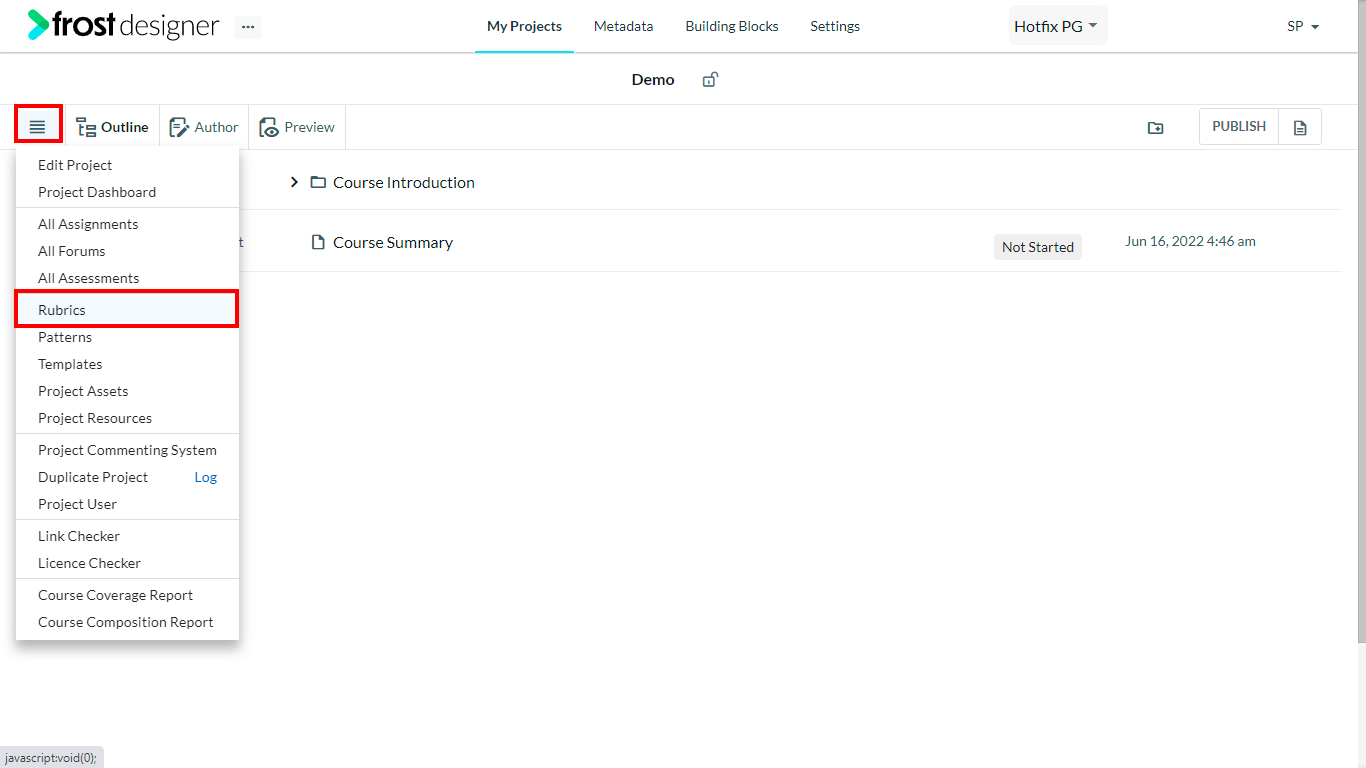
- From the Project Dashboard, click on the Project Navigation menu and select Rubrics.
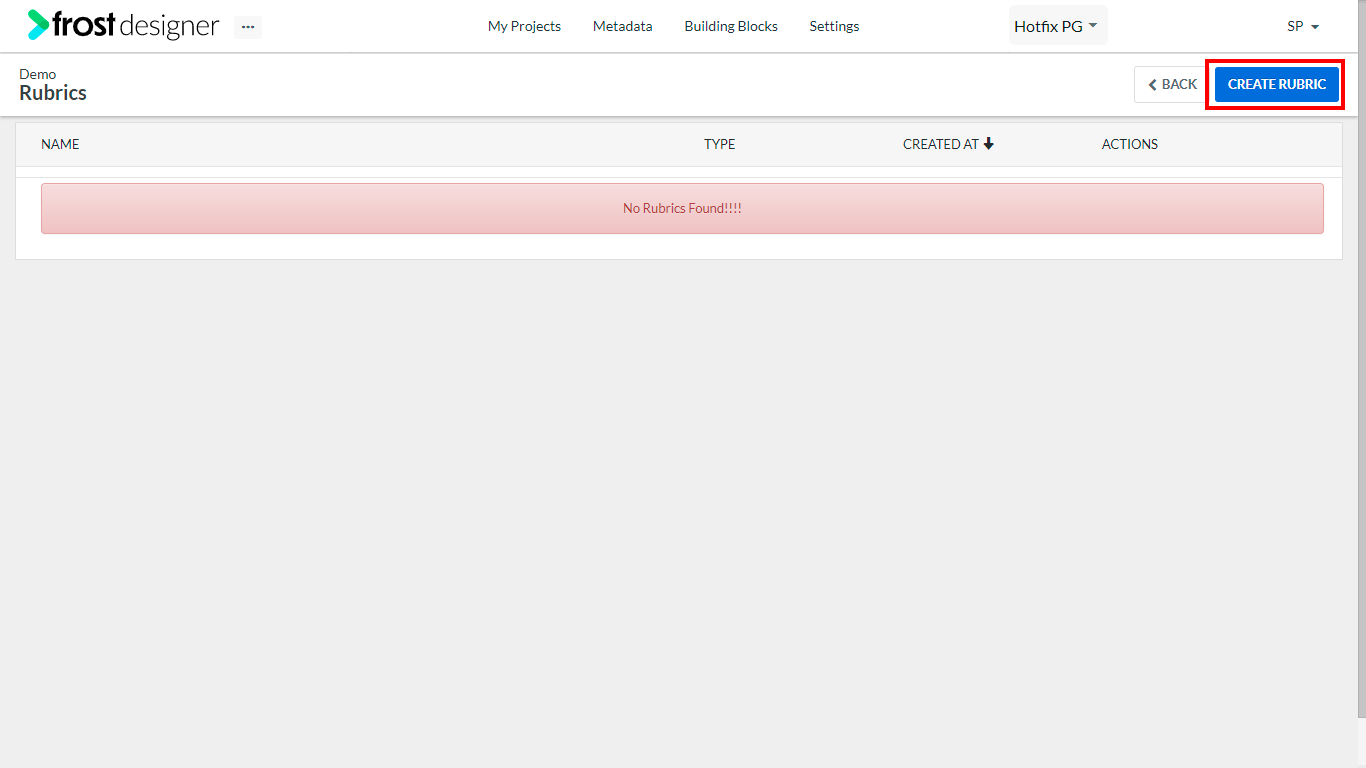
- To create a new rubric based on points, click the Create Rubric button on the top right corner of the Rubrics screen.
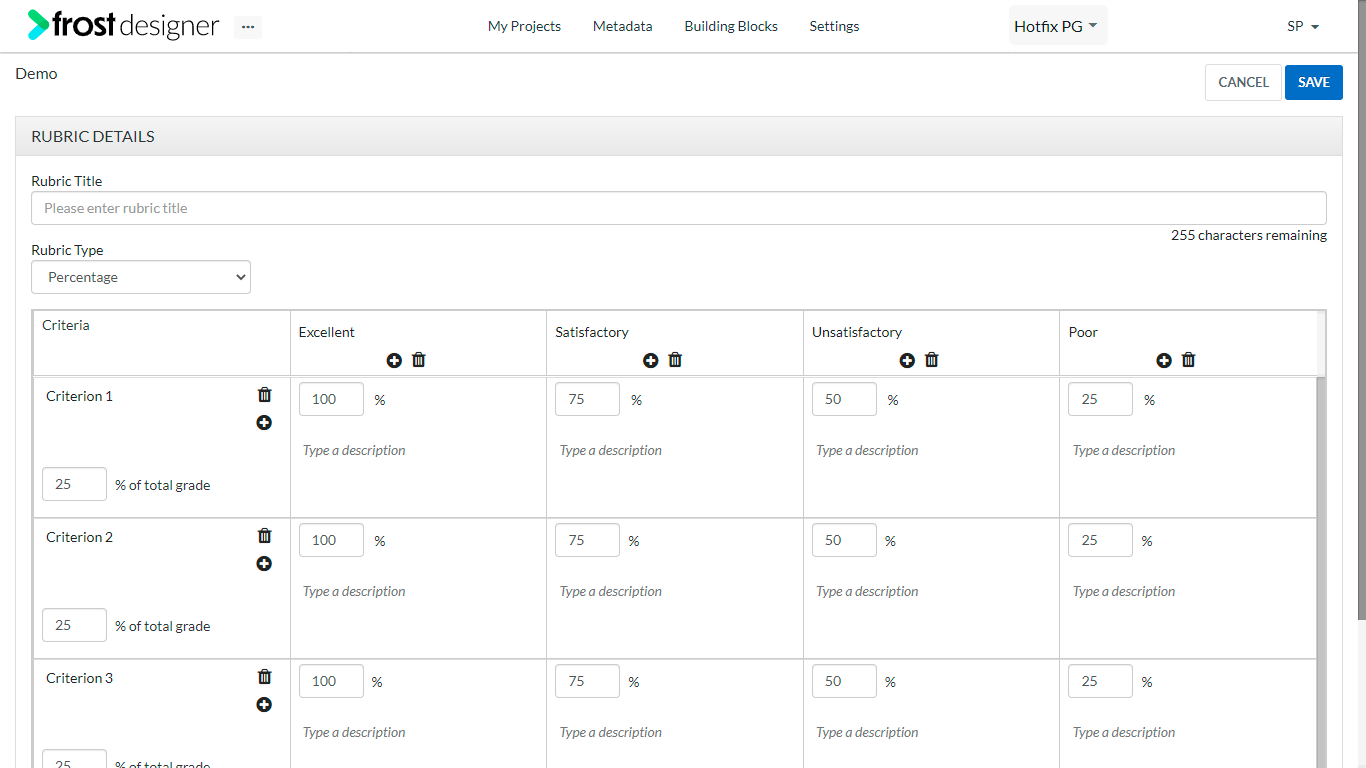
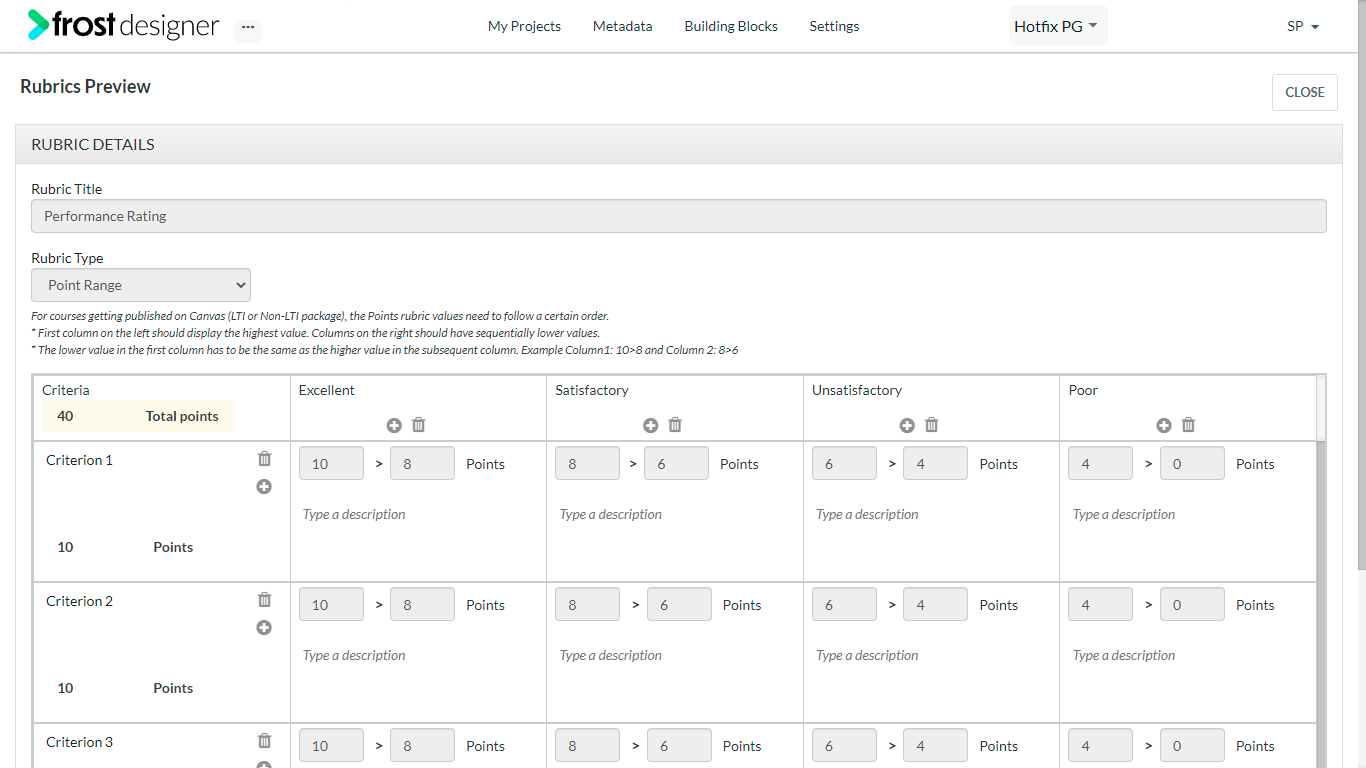
- On the Rubric Details form, enter the required details:
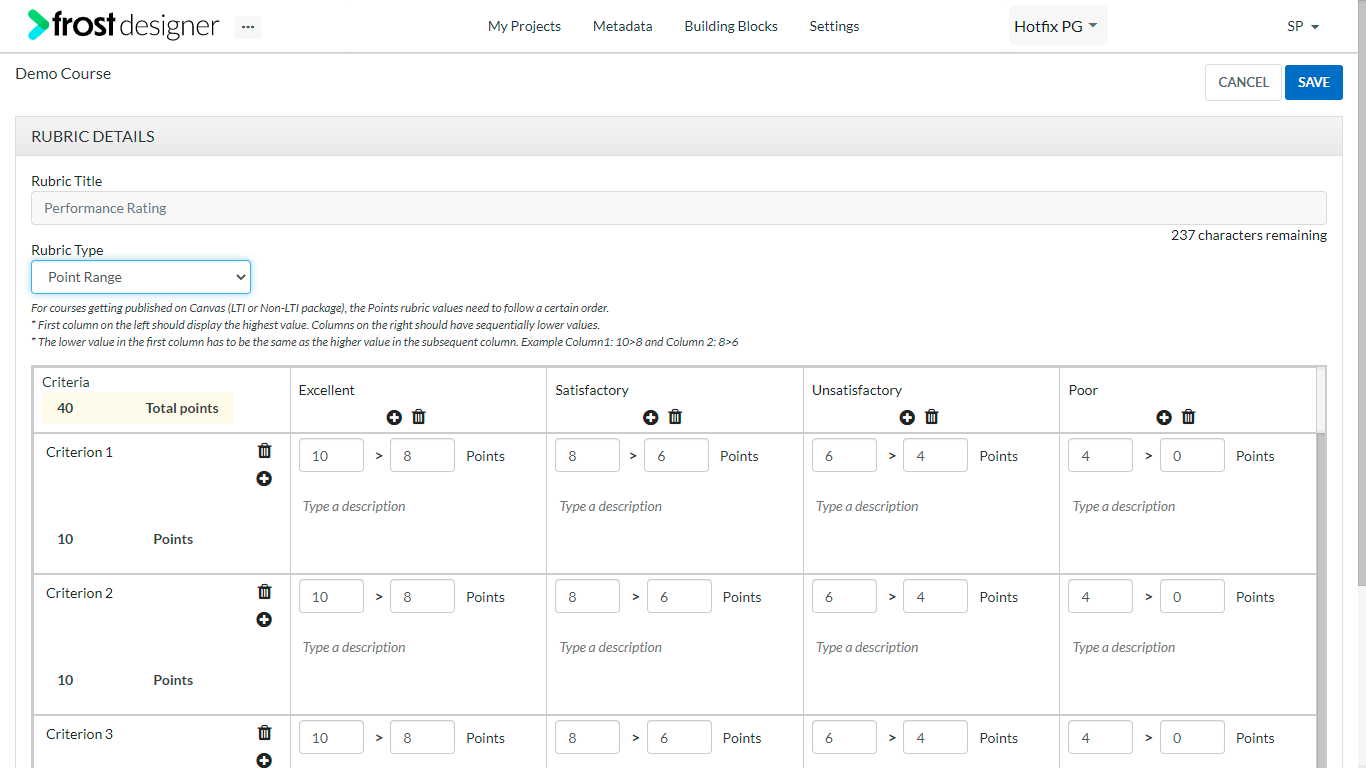
- Rubric Title – The name of the rubric (character limit of 255 characters)
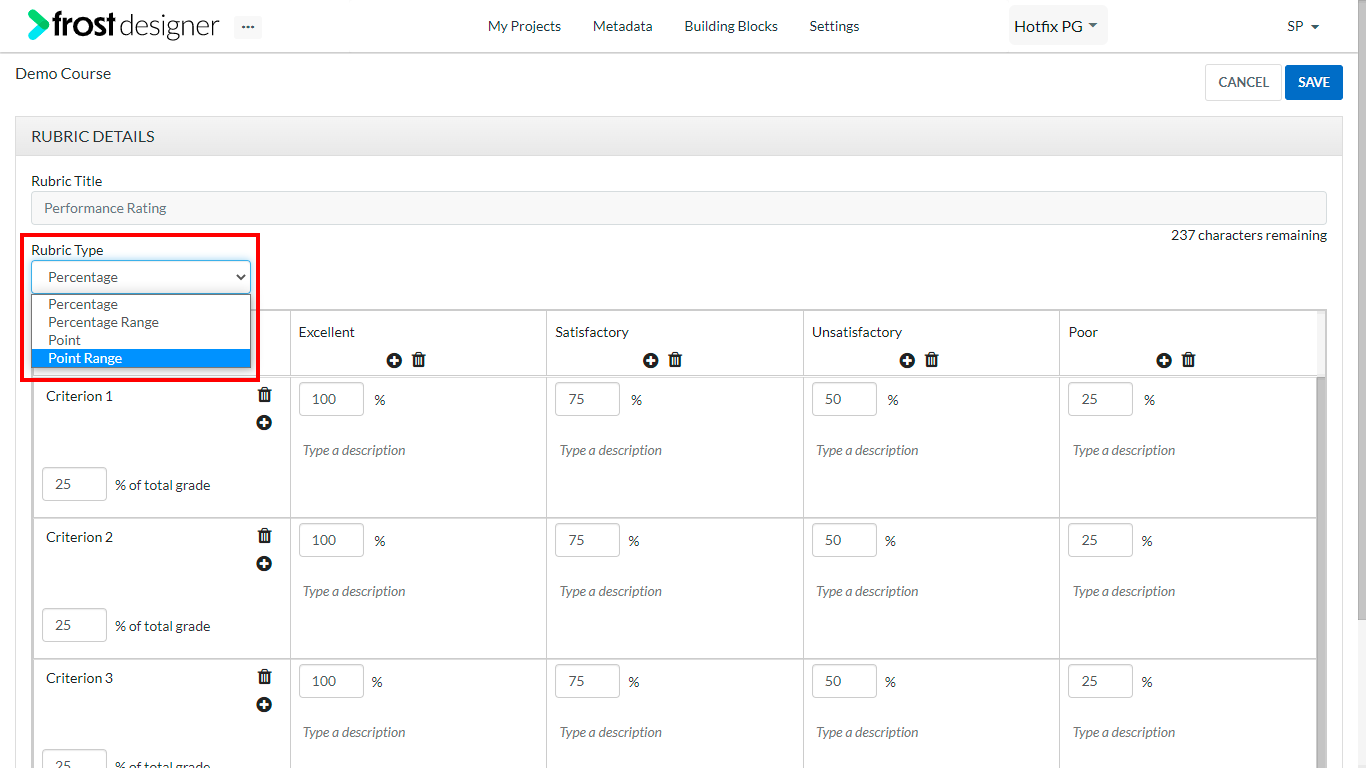
- Rubric Type – Select Point Range from the drop-down list
- Criteria – The first column lists the criteria
-
- Title – the name of criteria
- Total Points - sum total of all criteria in points
- Click the “+” icon against any criteria to create a new criterion below.
- To delete a criterion, click the delete icon on the criteria.
Notes: A maximum of 10 criteria can be added to a rubric. When new Criteria is added, the title will be “New Criterion” and an indication for the maximum number of points for that criterion will be displayed.
- Achievement – The first row lists the achievements.
- Title – the name of the achievement.
- Description
- Points – Value of achievement in points (by default 10).
- Click the “+” icon on any achievement to create a new achievement to the right.
- To delete an achievement, click the delete icon on the achievement.
Notes: A maximum of 10 achievements can be added to a rubric. On selecting point range, the default number of criterion and the number of achievements will remain 0 to 4, 4 to 6, 6 to 8 and 8 to 10.
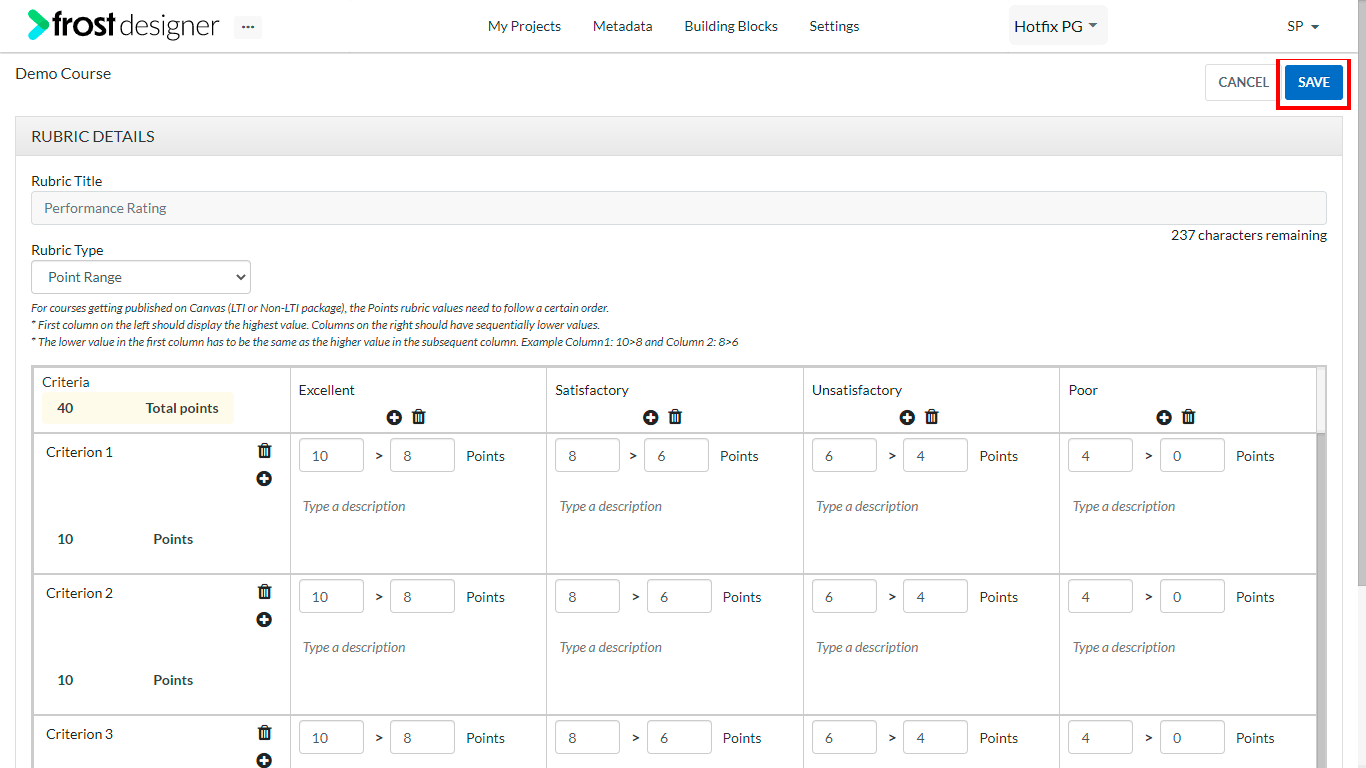
- After adding the required details, click Save button to create the new rubric.
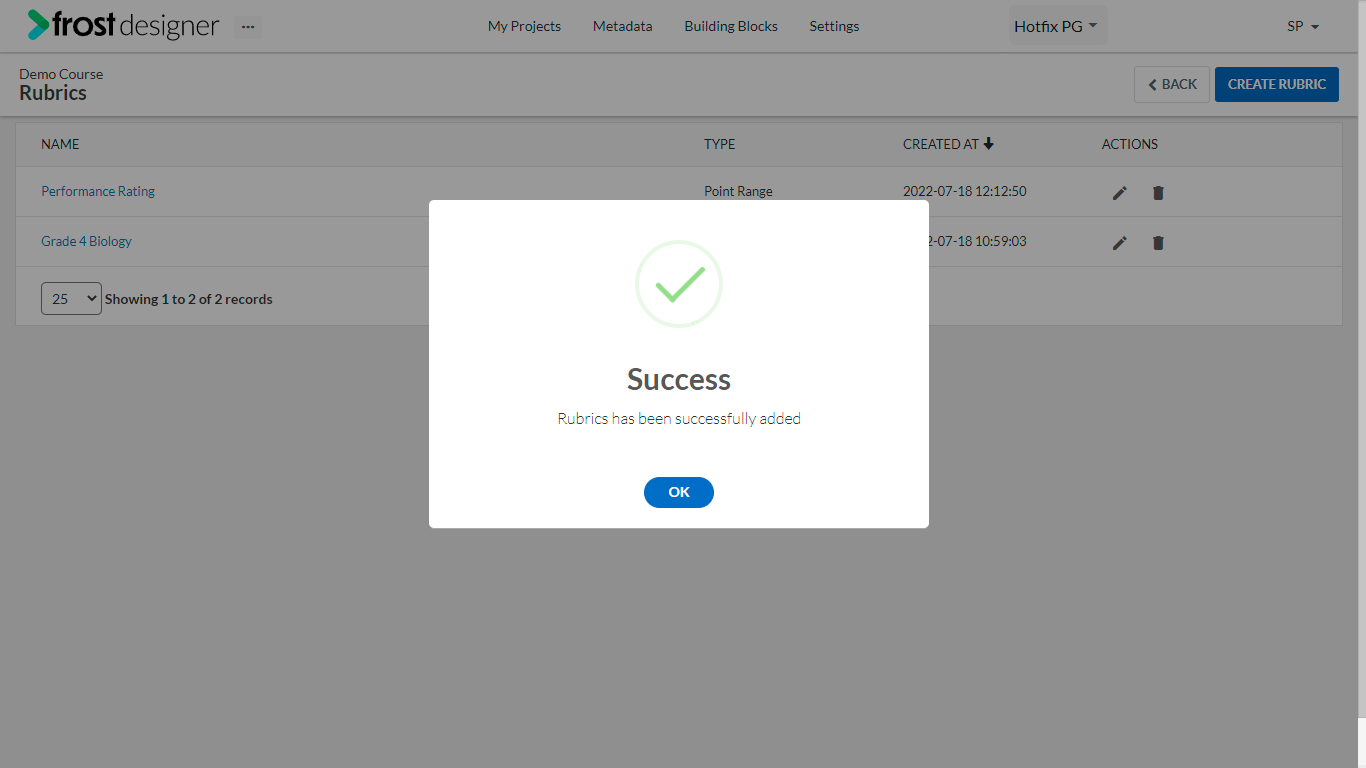
- On successful creation, a notification will be displayed on the screen.
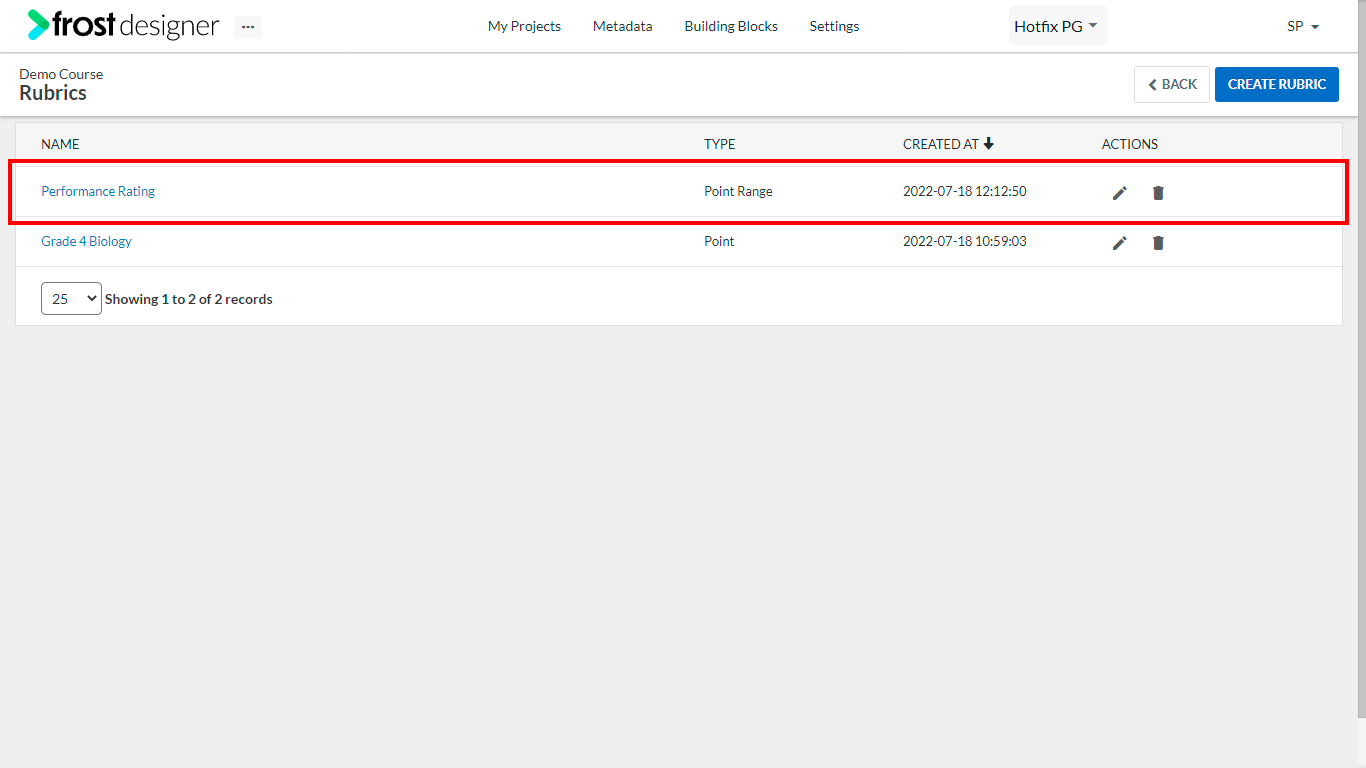
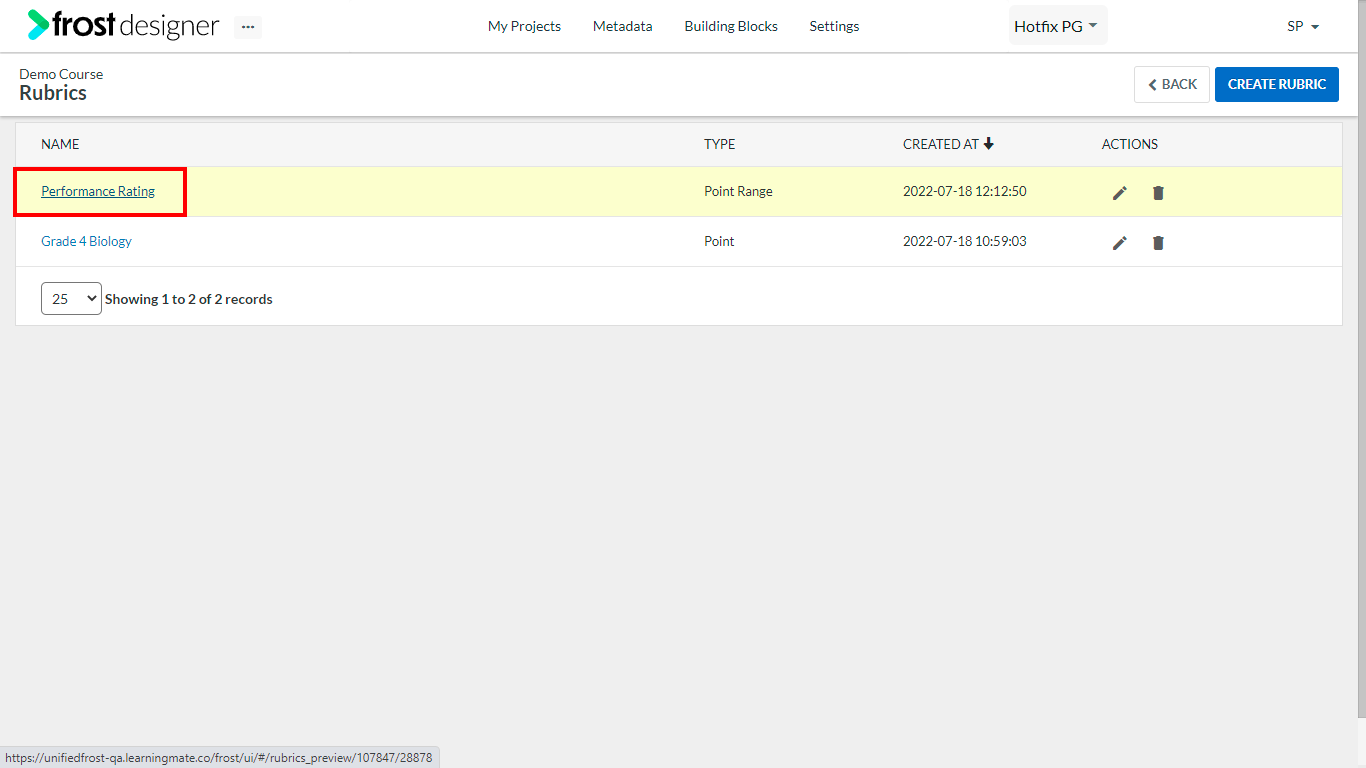
- Click the Rubric Name to preview the newly created rubric.
Notes:
- Point range rubric is supported in Canvas LTI and non-LTI export packages and also in Canvas import to Frost Designer. Point rubrics is also supported in deep publish to Canvas.
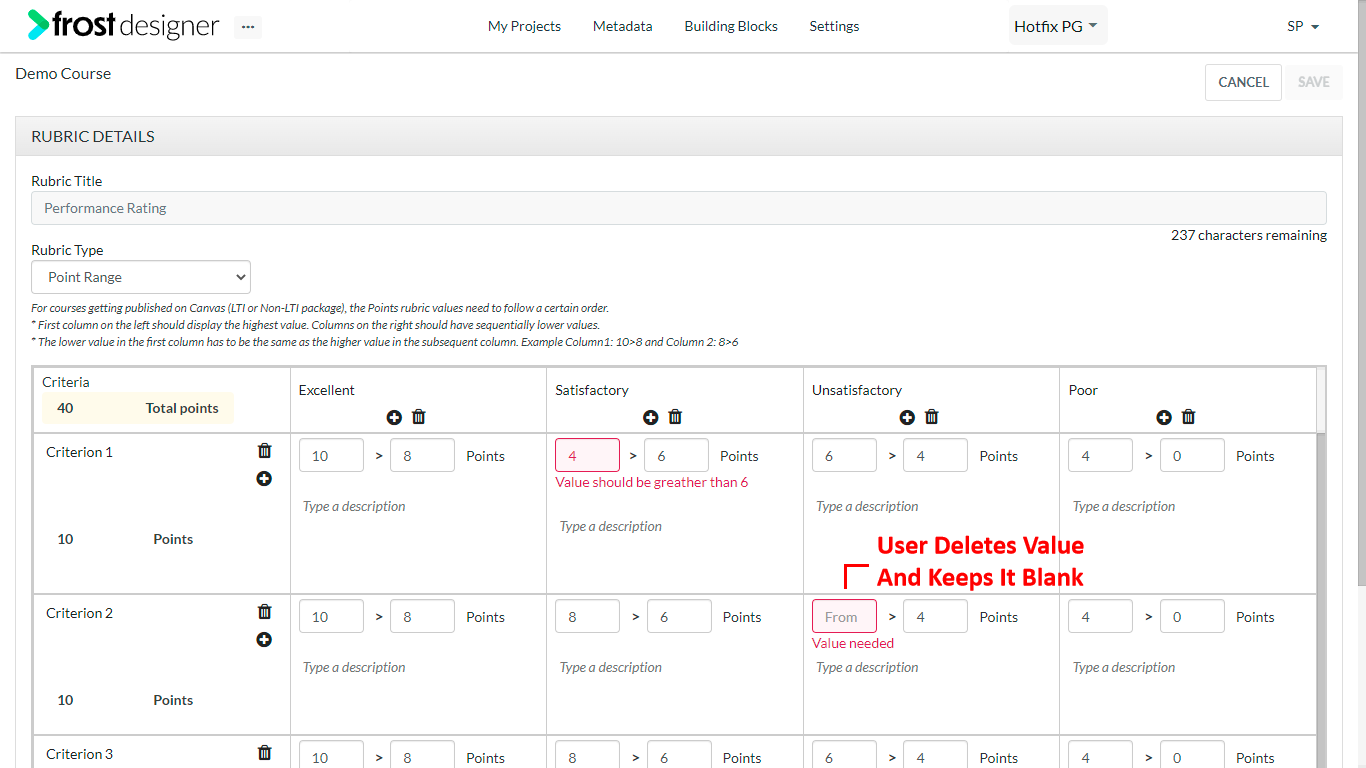
- For courses getting published on Canvas (LTI or Non-LTI package), the Points rubric values need to follow a certain order.
- The first column on the left should display the highest value. Columns on the right should have sequentially lower values.
- The lower value in the first column has to be the same as the higher value in the subsequent column. Example Column1: 10>8 and Column 2: 8>6