How to Replace External Tool in the LOR
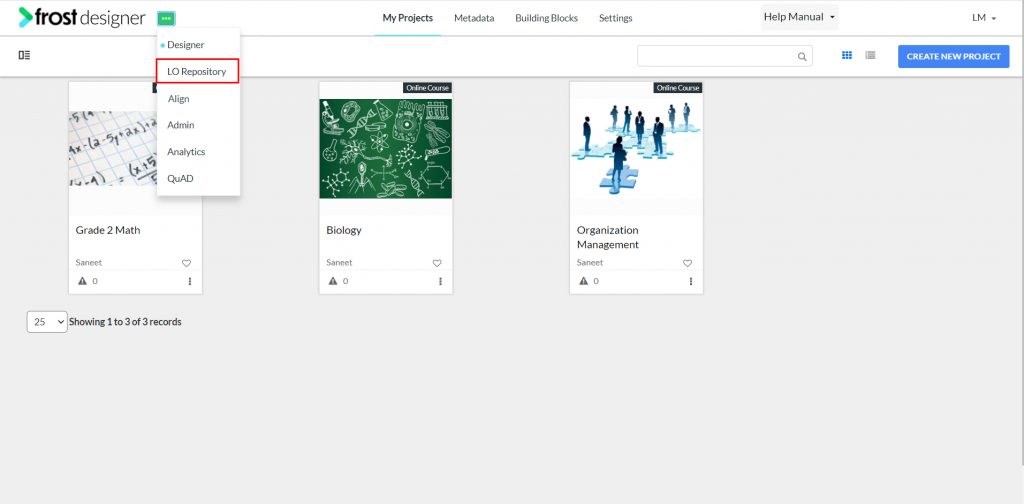
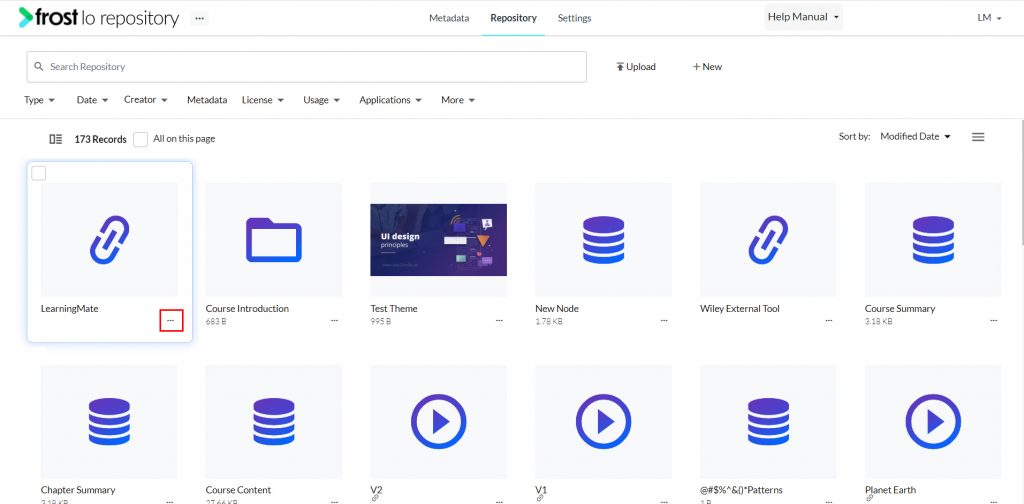
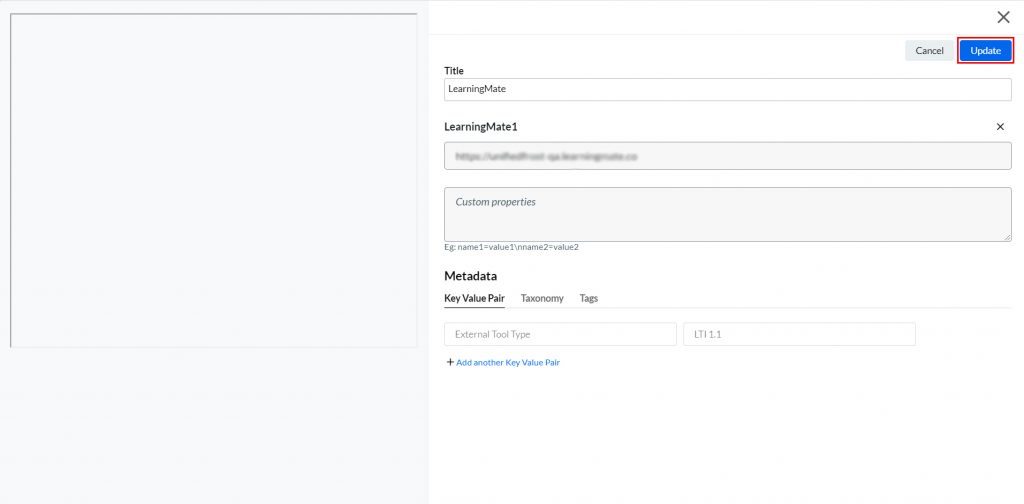
- Navigate to the LO Repository.
- Click the horizontal ellipsis icon from the bottom-right of the External Tool to edit.
- Select Edit to open the Edit form.
- Alternatively, you can open the edit form by choosing the Edit icon from the object’s Preview mode.
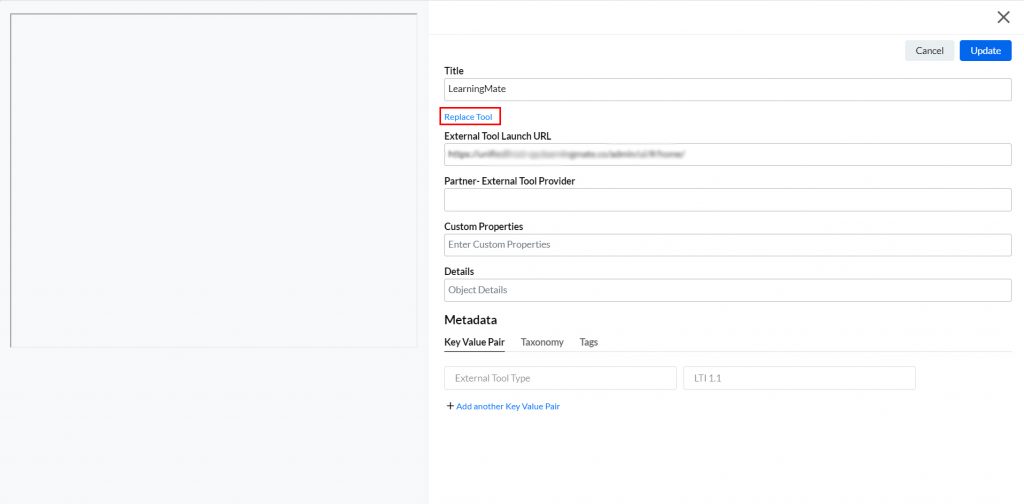
- Click Replace Tool.
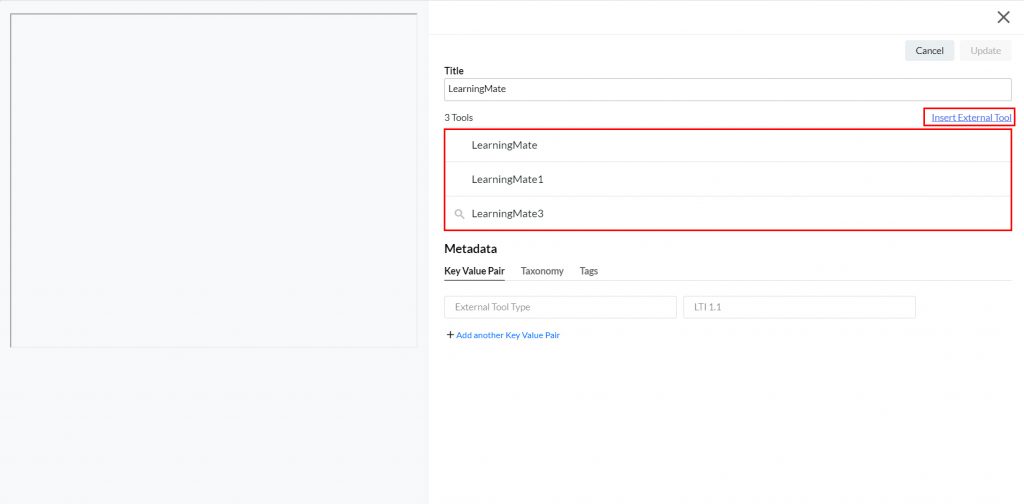
Note: Users can either choose from the available list of LTI 1.1 or LTI 1.3 tools pre-registered in the Admin platform or can click insert new external tool if no tool is pre-registered.
- Select a pre-registered tool from the available list of LTI 1.1 or LTI 1.3 tools:
- LTI 1.1 tools configured with basic launch (without search icon) can be added directly by selecting the tool
- LTI 1.1 tools configured with Content Item selection and LTI 1.3 tools will have a search icon next to them, clicking this will open the corresponding providers UI to select resources
Note: Once an LTI tool is selected, the Launch URL and Custom Properties will be auto populated (if Custom Properties is added during the registration in Admin). Name, URL & Custom properties are available for the user to add/edit manually.
- Alternatively, to add a tool, click Insert External Tool.
- In the Add Form, you need to input the following details:
- On adding the required details, click the Update button.
Note: On the basis of the type of tool created, the KVP (External Tool Type) will be auto On Replace, users would be able to browse and select a pre-registered tool as well as get an option to add the tool manually (flow remains the same).