Receiving Alert Message for Editing Node Type via Project Configuration
How do you receive alert messages when adding a new node type?
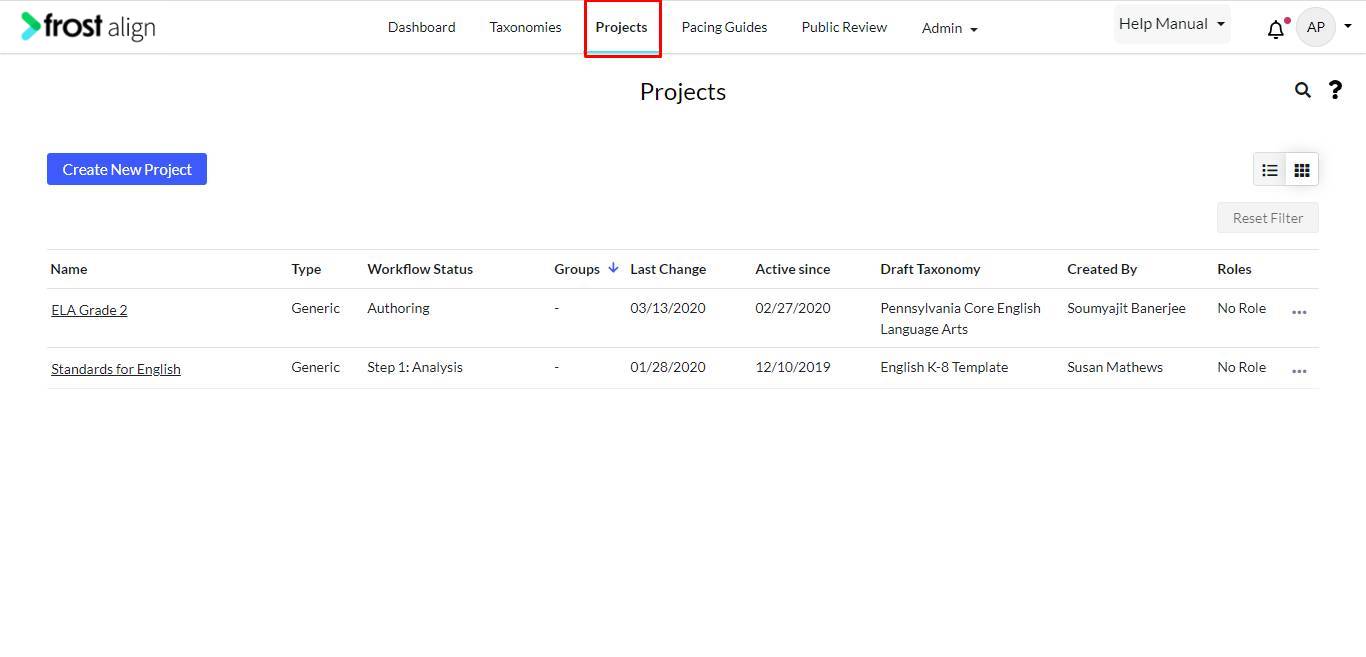
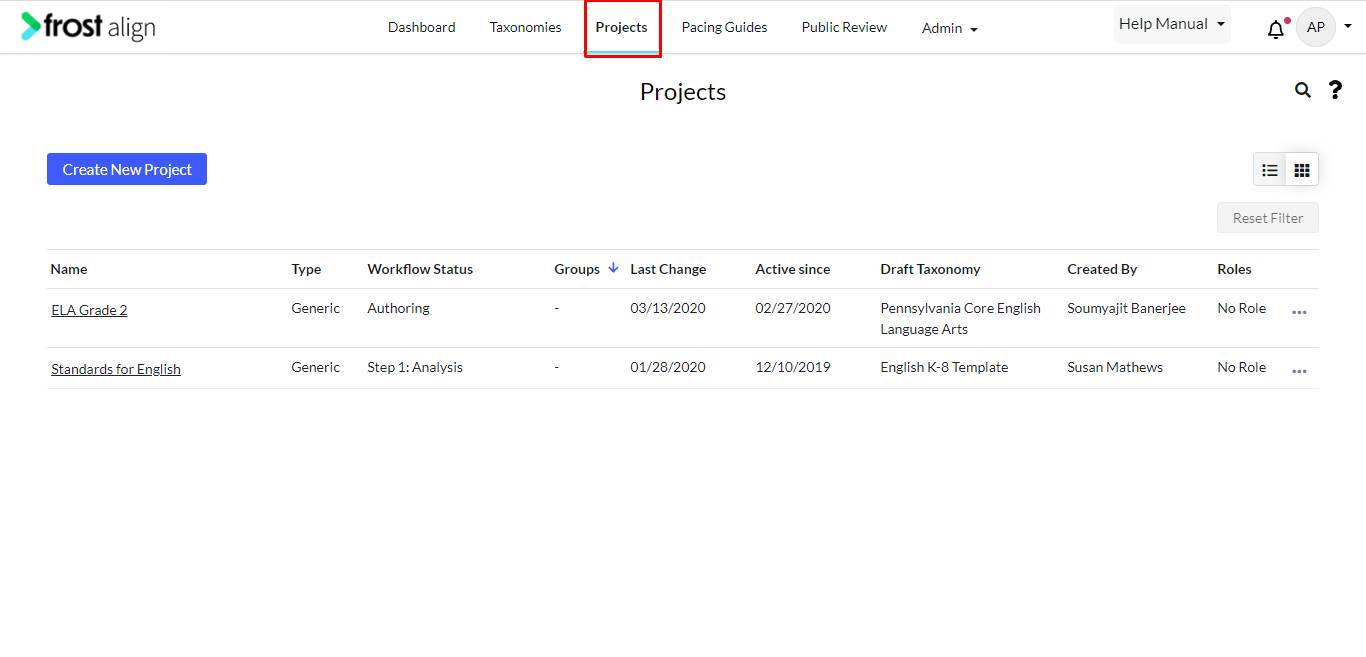
- From the top menu panel, click Projects.
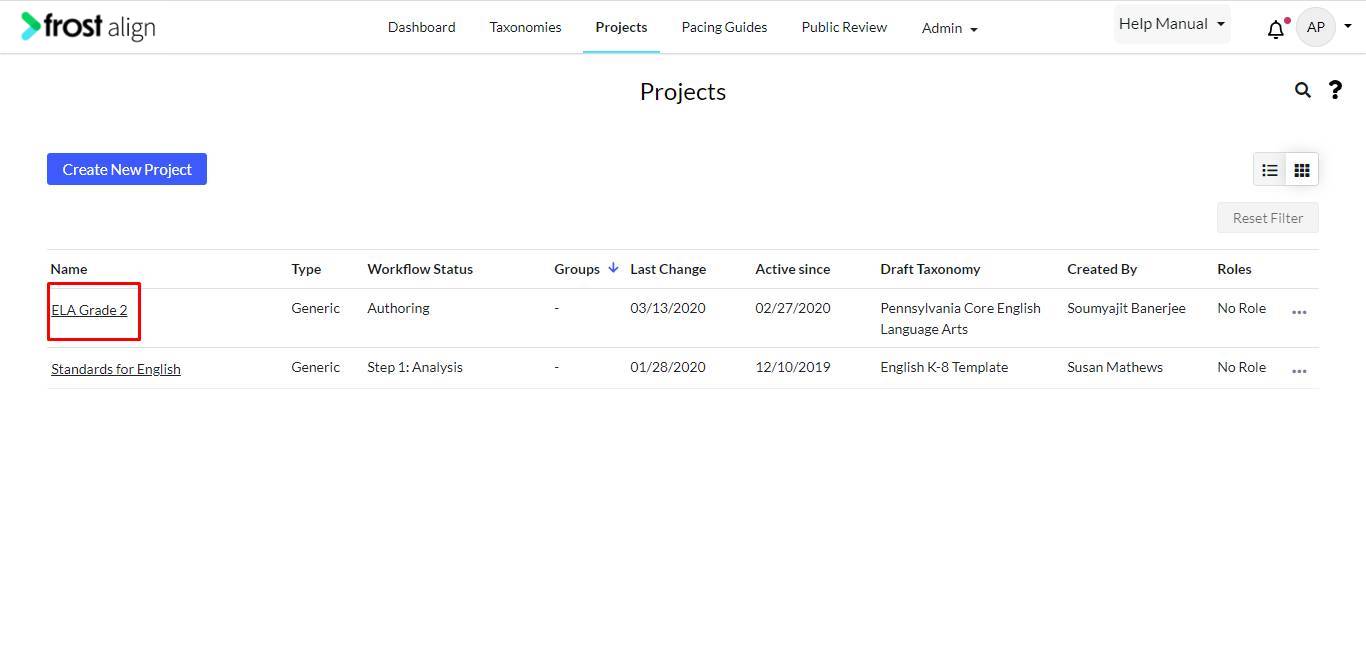
Select any project to work on. - Select the Edit (pencil) icon to edit the project.
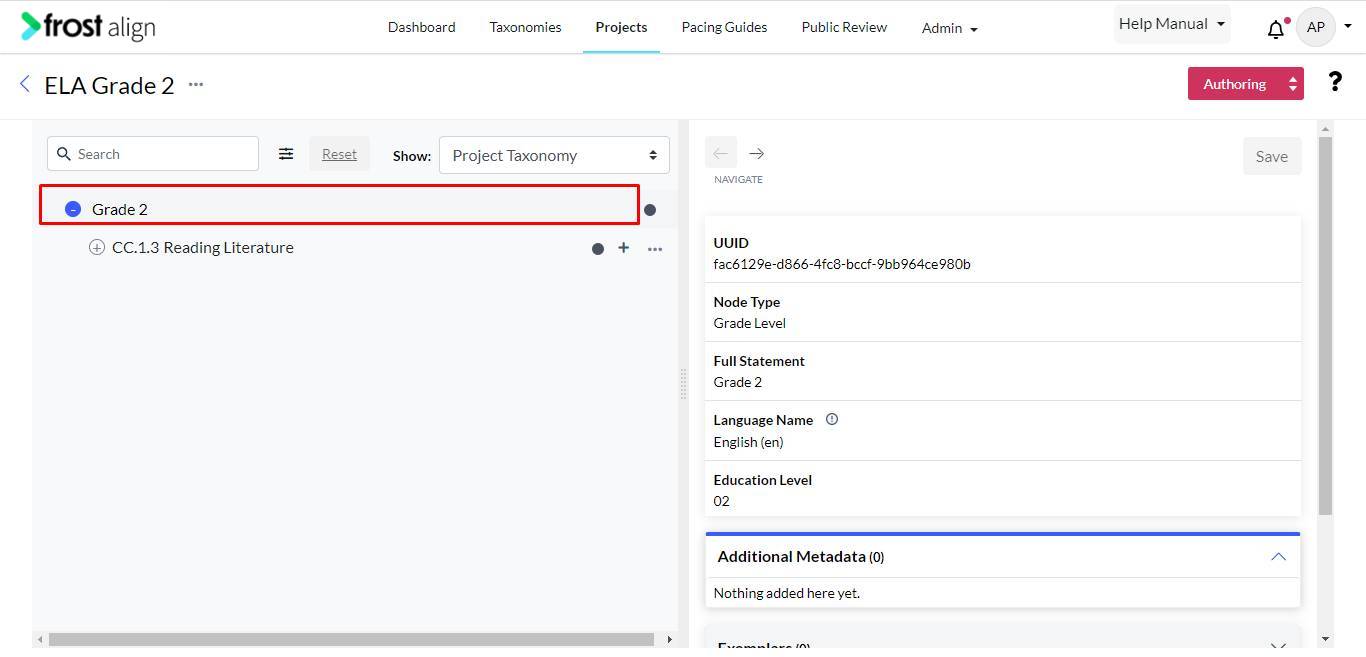
- Click the main node. In this case, ELA Grade 2.
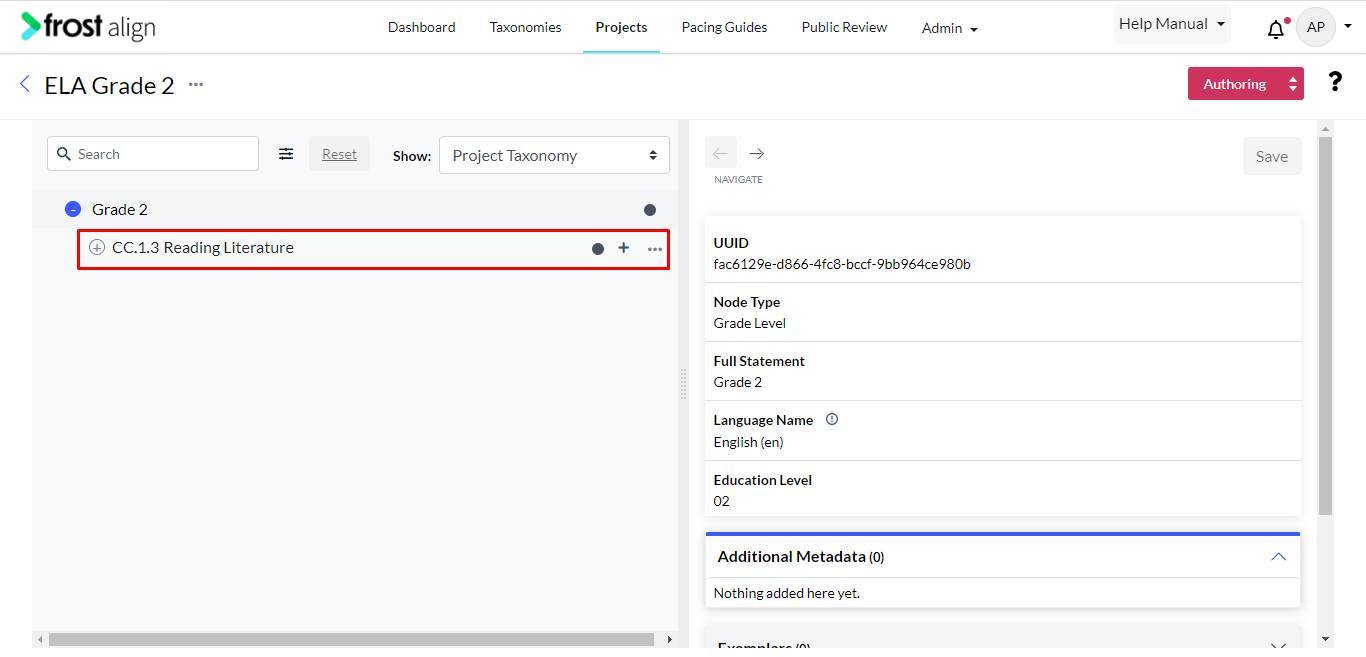
- Click the + sign to expand the first brand node.
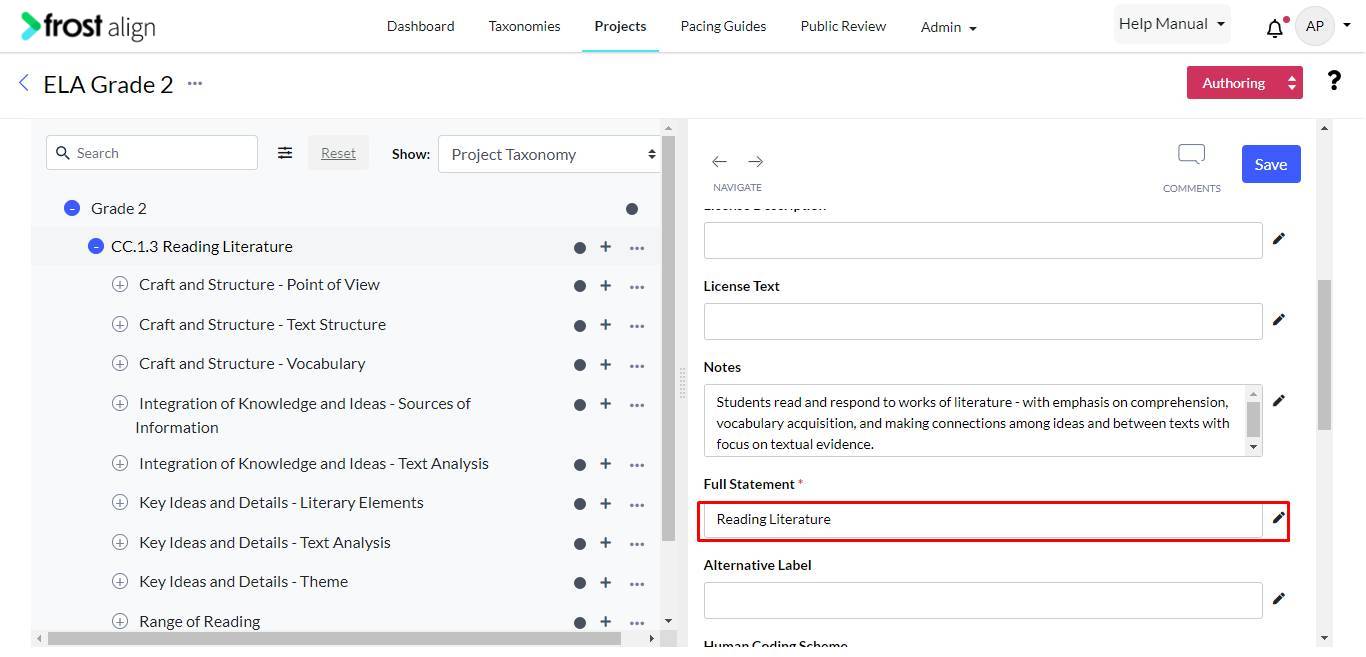
- On the panel, next to the nodes, makes edits in the Full Statement * box.
- Select the Edit (pencil) icon to make changes.
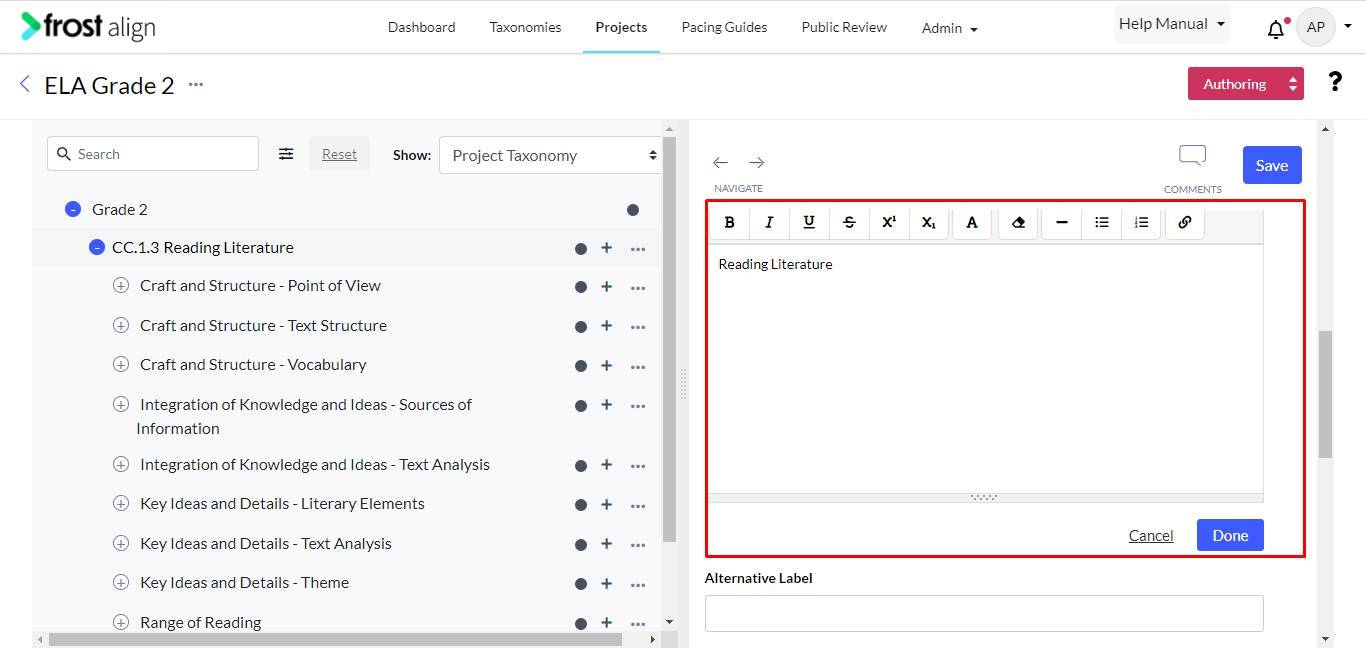
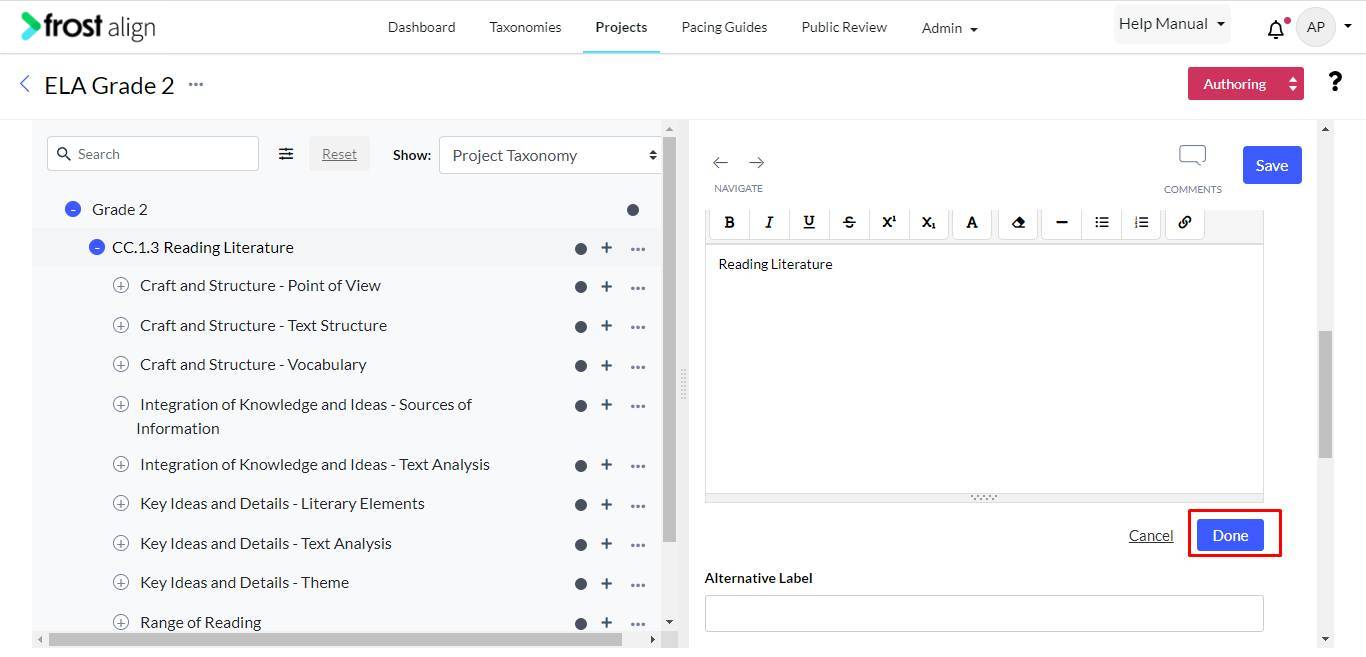
- You can make changes by typing in the box. Click Done.
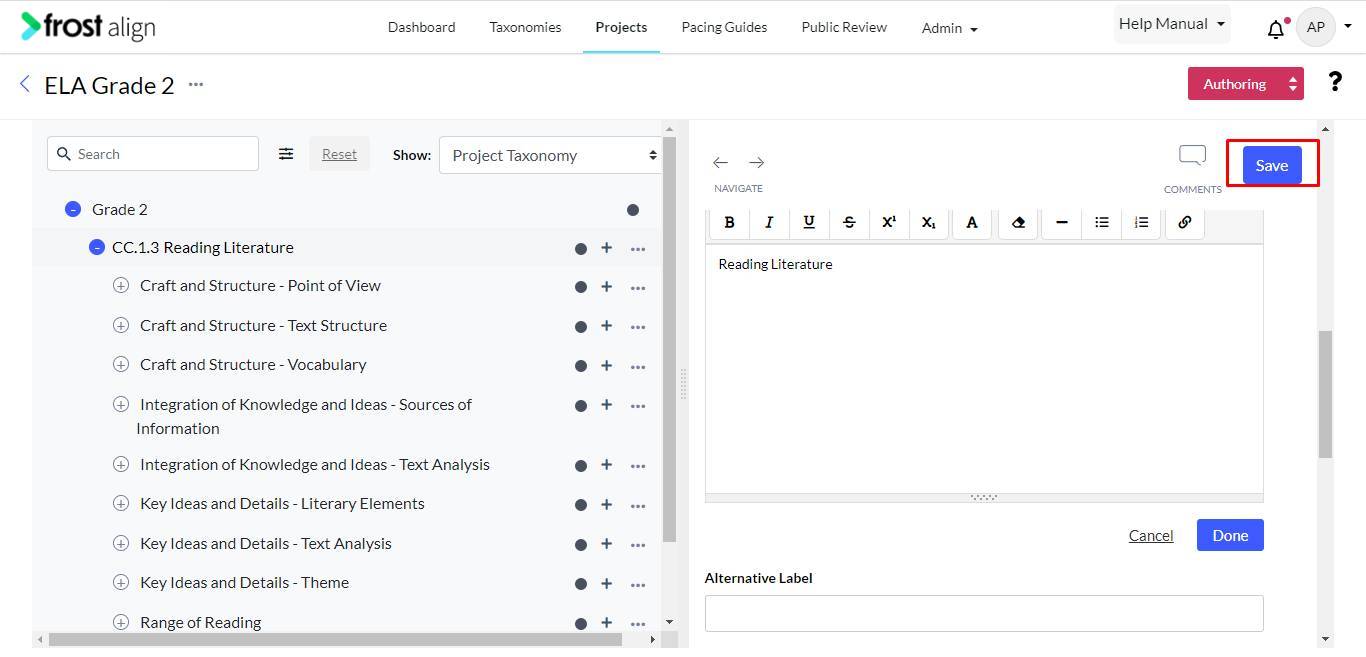
- Click Save to save the edits made.
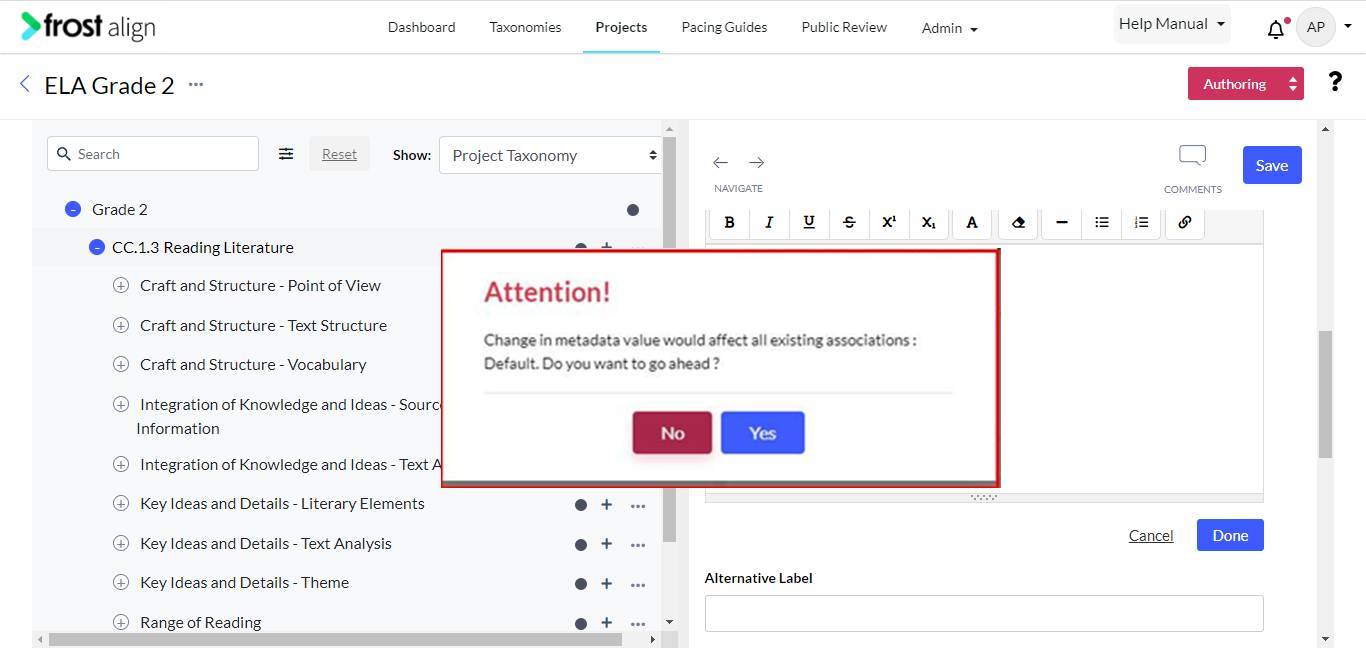
- Attention! Box appears.
- Choose from Yes or No. You are taken back to the Projects dashboard.
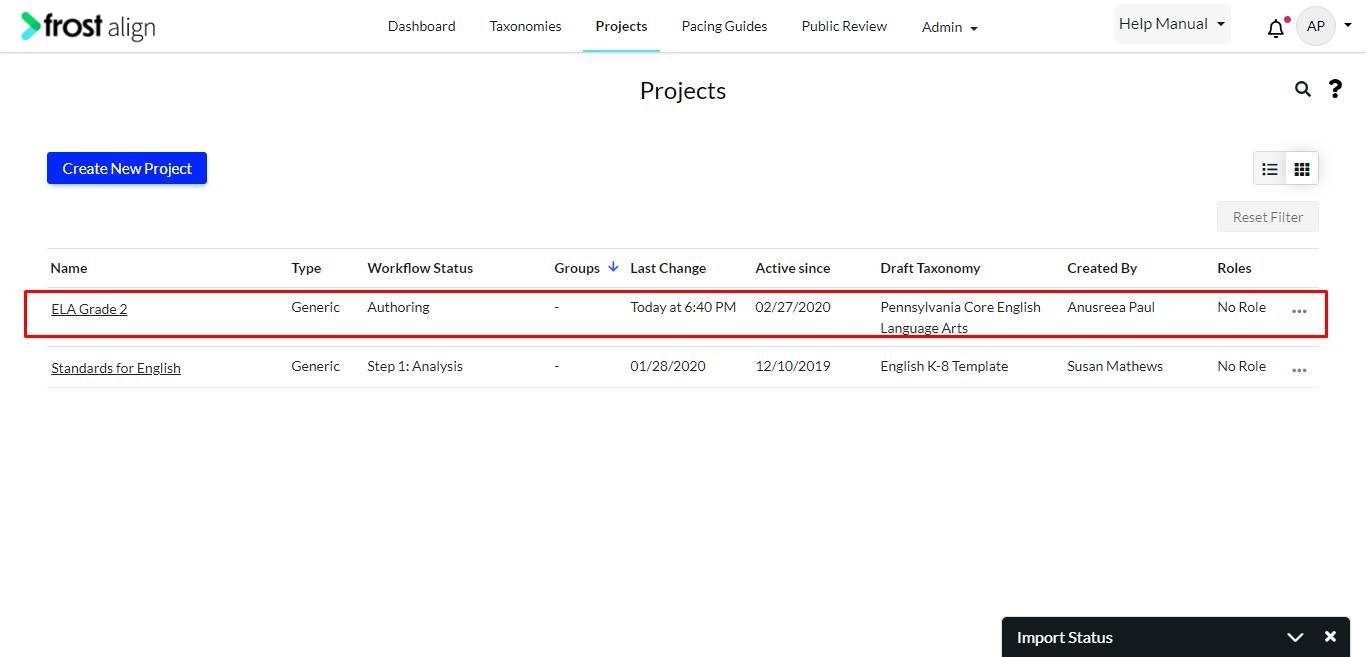
- Select Projects.
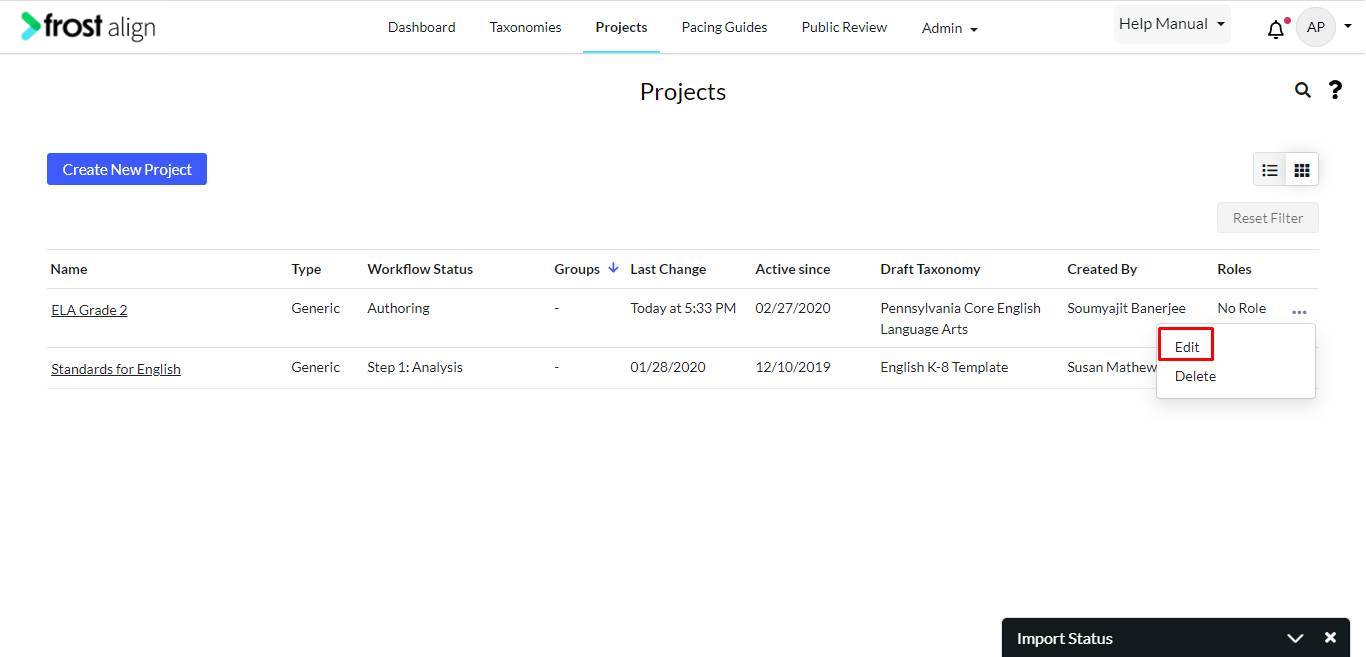
- To edit any project, select the ellipses (three dots) in line with the chosen project.
- Select Edit.
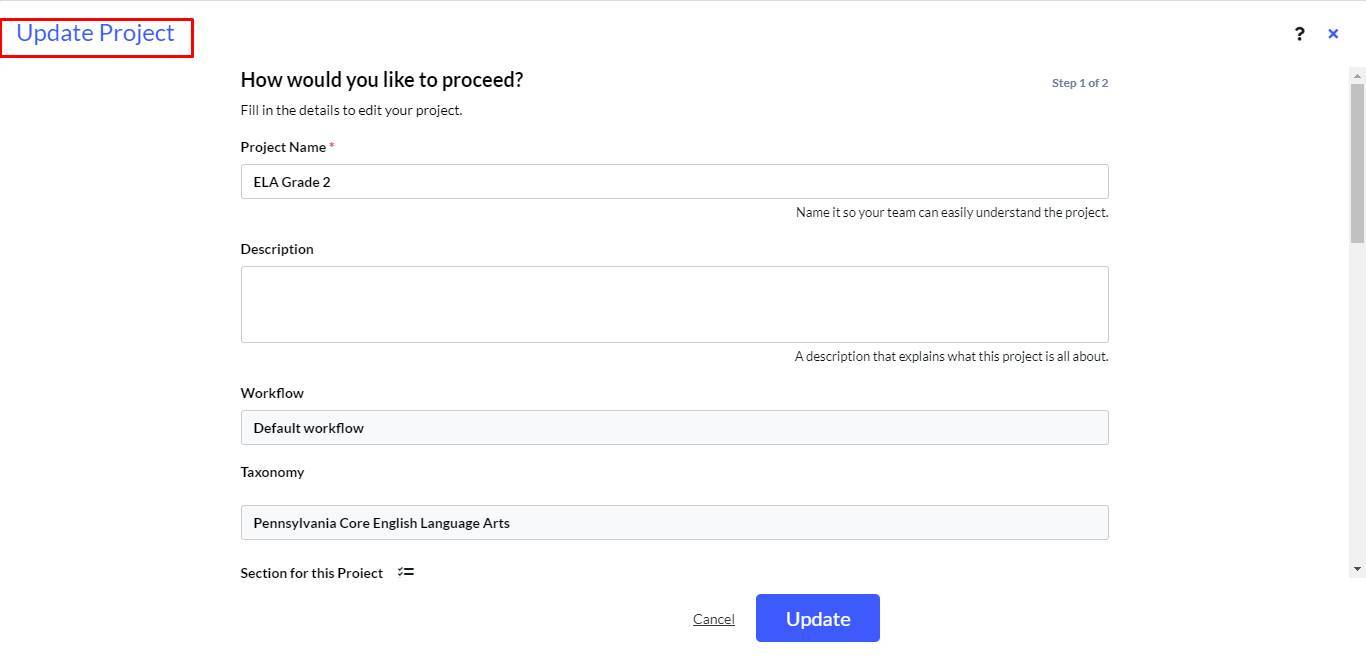
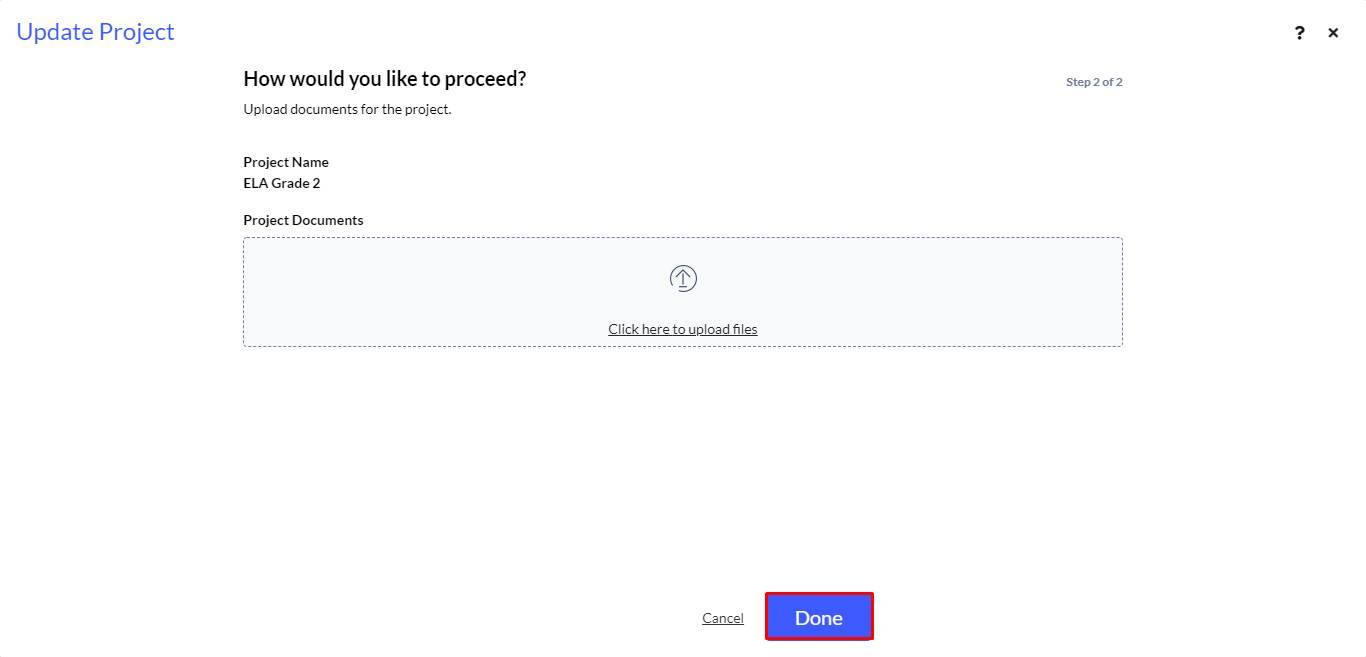
- The Update Project pop up appears.
- Select the node to work on and their respective metadata appears. Fill up the metadata fields.
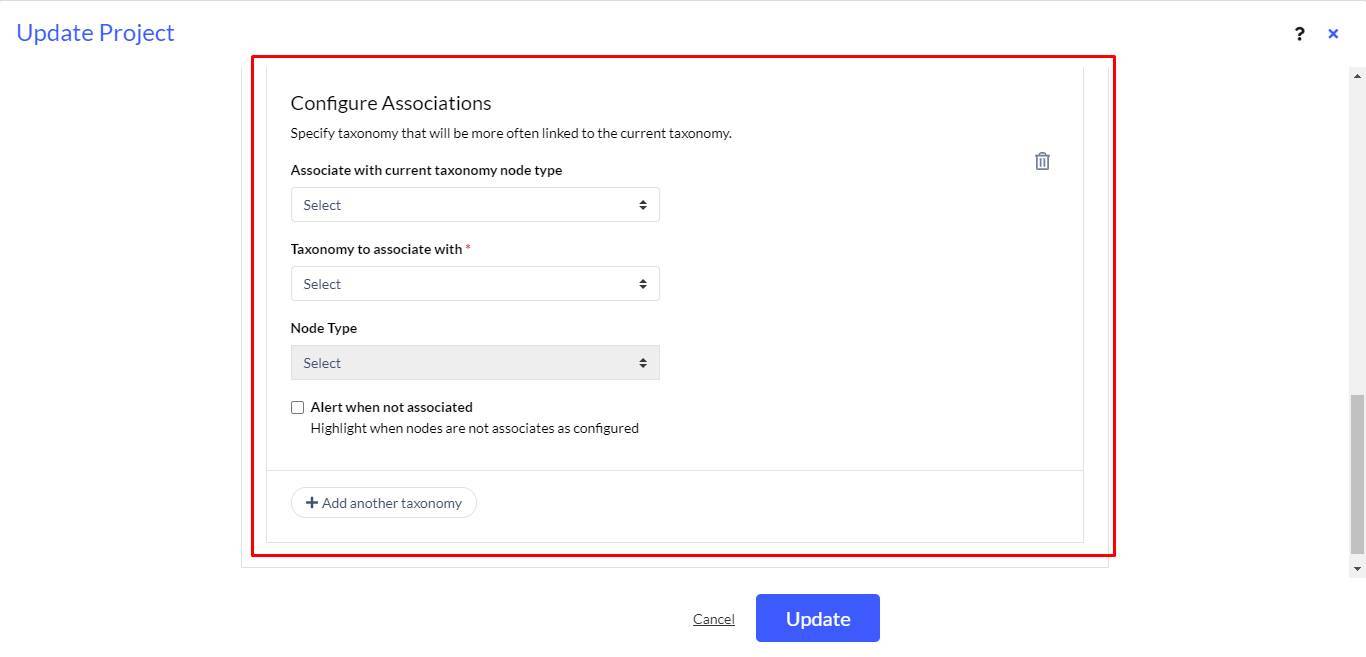
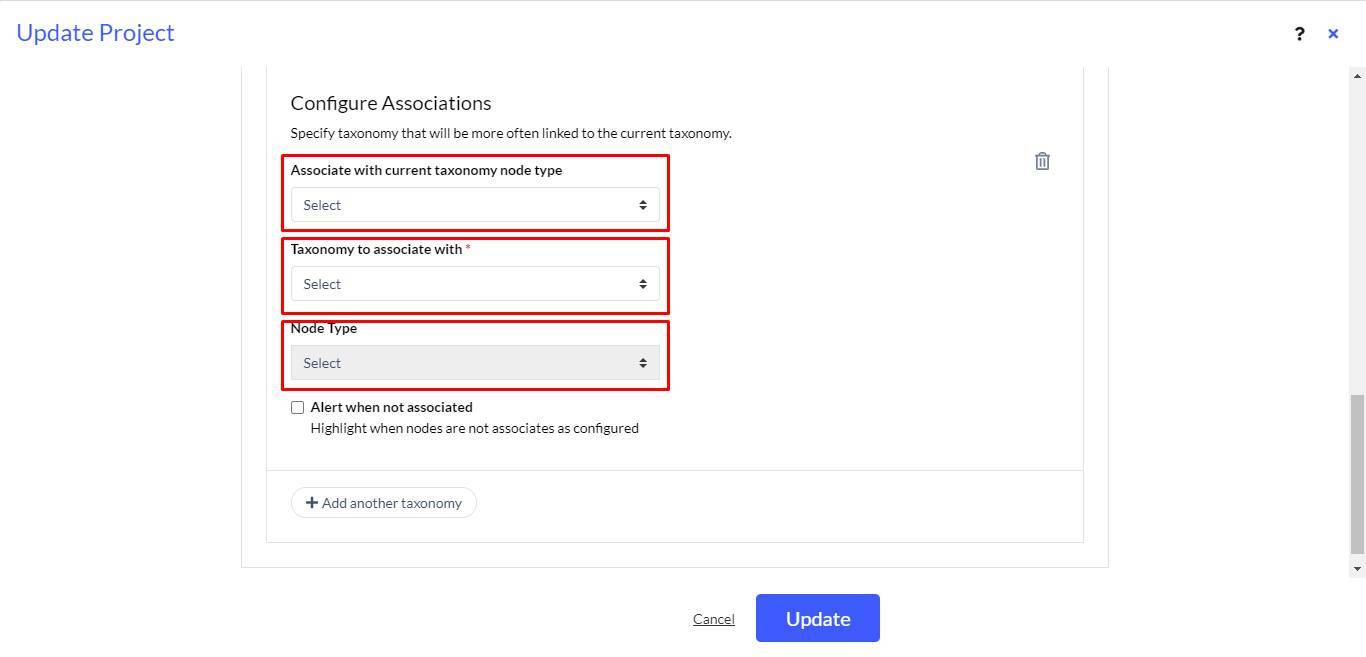
- Select Associate with current taxonomy node type.
- Next, select Taxonomy to associate with *
- Select Node Type.
- Check the box for Alert when not associated.
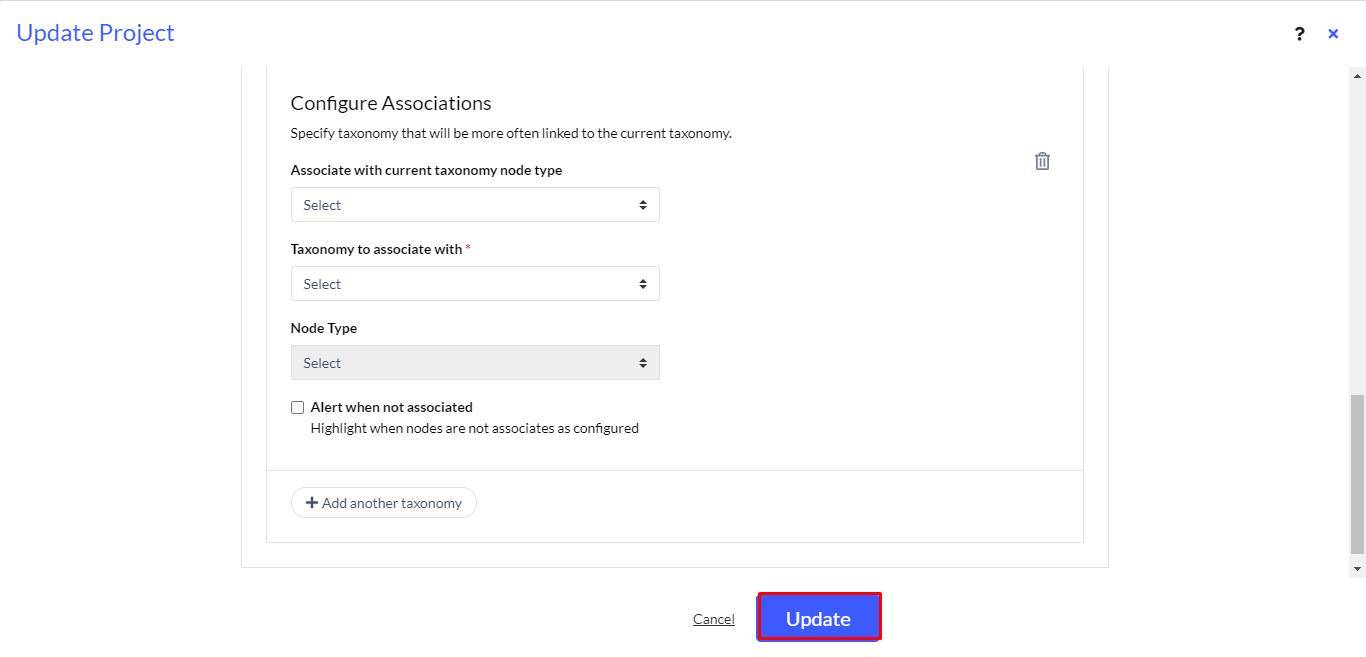
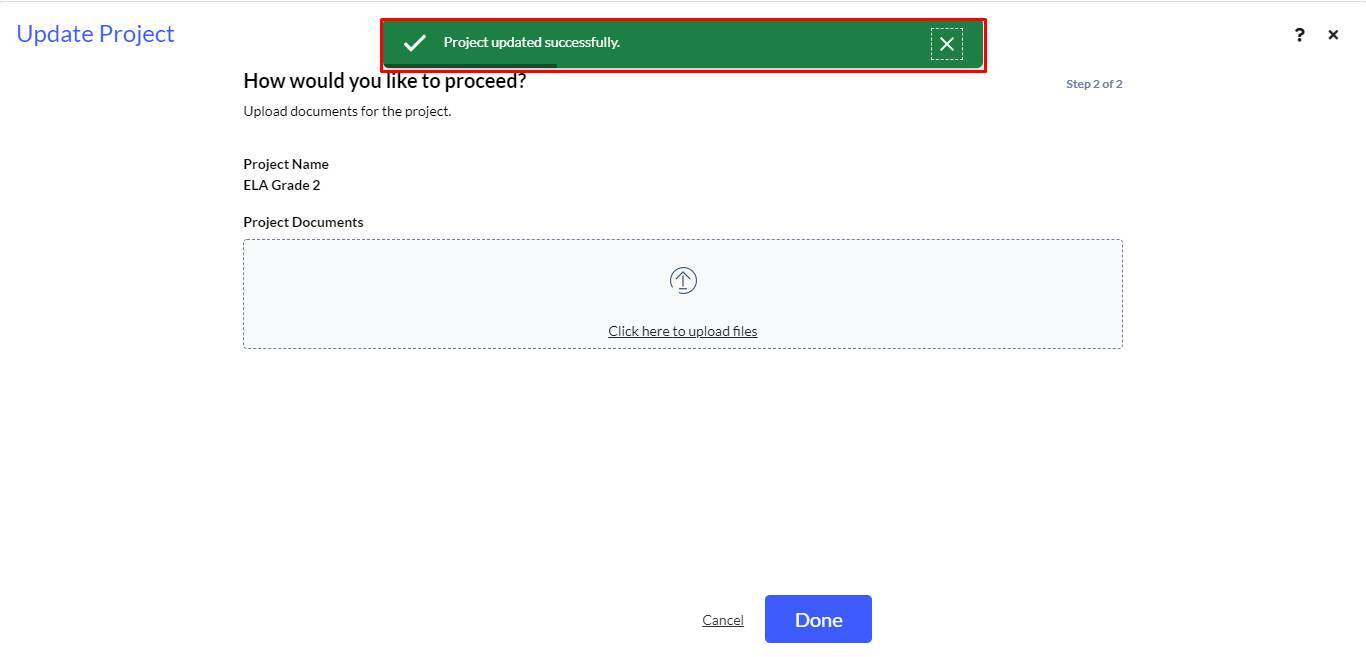
- Click Update.
- As a user,
Note:
- You should get an alert message to confirm before you make edits to the node.
- You get alert messages on updating the full statement.
- You get alert messages on updating the human coding scheme.
- You get alert messages on deleting the node.
- On making changes, the user receives the following message “Change in metadata value would affect all existing association with ‘Target node type name 1’, ‘Target node type name 2’ (In case of multiple config setting with same node type)”.
Note:
- CSV will be excluded.
- Taxonomy builder editor will be excluded.
- Not applicable when the user adds a node from add from taxonomy as is child or if a user is appending the node.